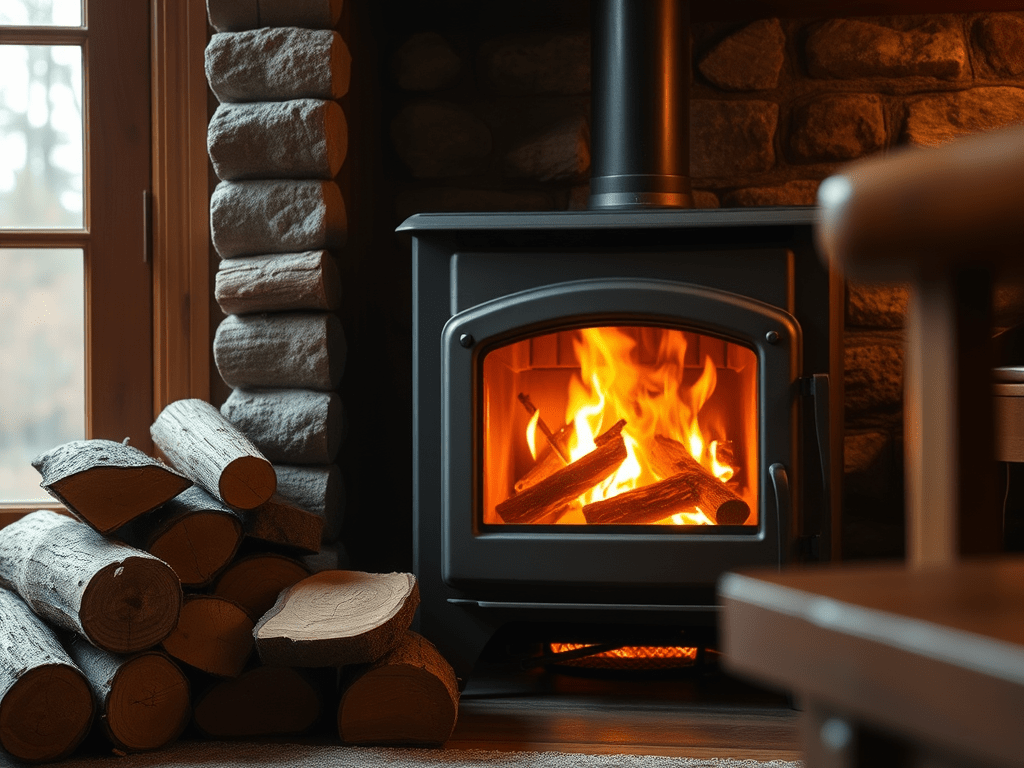
To use a wood-burning stove effectively, follow these essential steps to ensure safe and efficient operation.
1. Prepare Your Stove
Make sure the stove has an adequate air supply before lighting. Some models come with an indicator to confirm this.
2. Create a Fire Bed
Start by laying down firelighters or crumpled paper along with dry kindling on your fire bed. Having plenty of kindling is crucial for successfully igniting the fire—don’t underestimate its importance.
3. Light Your Fire
Wait for the kindling to catch fire and begin to burn steadily. Use a log guard to keep the burning material contained and protect the glass from heat.
4. Leave the Door Slightly Open
This small adjustment can make a significant difference. Keeping the door slightly ajar helps improve airflow, assisting in lighting the fire and preventing condensation buildup on the glass. In some cases, closing the door can also be beneficial, as it can help speed up the airflow, which may assist in getting the fire started.
5. Gradually Add Larger Pieces
Once the kindling is burning well, begin adding larger pieces of split wood. Avoid placing full logs in the fire immediately; instead, build the fire gradually to prevent smothering it.
6. Monitor Airflow
Most wood burners allow you to adjust the airflow. After the fire is well-established, reduce the airflow to prevent the wood from burning too quickly. It’s vital to wait until the fire is strong before slowing the airflow, as reducing it too early can extinguish the flames. As the fire heats up, you can further decrease the airflow to ensure a slow, efficient burn. Keep a close eye on it!
